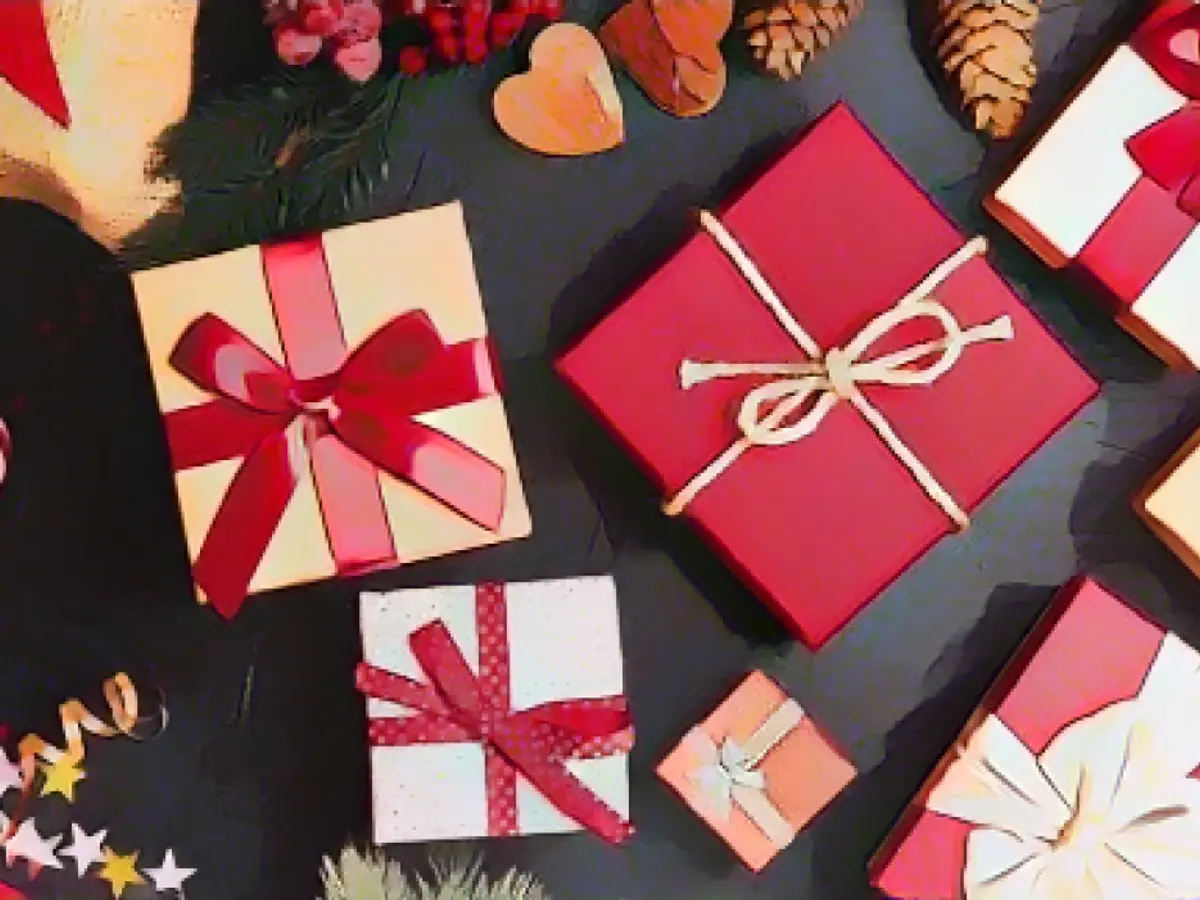
Holiday season is upon us, and that means a lot on your plate. You've got travel plans for family visits, hosting plans for those same family visits, party plans, shopping lists, decoration plans, and various other plans. While most plans are well within adult capabilities, there's one that even the sharpest minds might stumble upon: wrapping all the gifts.
If you've ever tried your hand at wrapping a pile of gifts, only to later suffer a nervous breakdown when you ran out of tape, you know how stressful gift wrapping can be. Even simple, classic boxes seem to glower at you like they've been stuck in a dark closet all day, and unusual shaped gifts often feel impossible. But don't despair – wrapping gifts, even if they come in specialty boxes or none at all, is easier than you think.
So, how do you wrap a gift?
First things first: get the basics right. If your gift wrapping technique involves haphazardly slapping gift wrap onto a present, resulting in the chaos the vacation experts call "messy chaos," there's some good news: Wrapping traditional box-shaped gifts is actually quite simple, thanks to these tips and ideas.
The Basic Approach
The simplest way to wrap a gift is to place it, if possible, into a traditional box shape. Then, you can opt for the classic method:
- Lay the box on its back on the backside of the wrapping paper, so it's still attached to the roll on both sides. You should have enough wrap on both sides to reach about three-quarters of the height of the box.
- Fold the extra wrap over the box, bringing it to the other side of the box and touching the backside of the wrap.
- Cut the wrap along the edge, leaving a 7.6 cm (3 inch) border around the edge of the box.
- Cut the wrap so that all edges are equal.
- Turn the box over so it's right-side up.
- Fold about 5 cm (2 inches) of wrap up the shorter side of the top of the box and secure it with tape.
- Pull the other side over the top and tape it. For extra style points, instead of sticking the tape in the center, fold the wrap underneath the box and use double-sided tape to create smooth seams.
- Fold the ends on top and bottom to create triangles, fold them in the middle, then folded down. Pull the sides up and tape them in place. Repeat on the other end.
And there you have it – a beautifully wrapped gift (you can see the finished product here). Some of the folds aren't strictly necessary, but they can make the finished product look neater. You can cover it with double-sided tape for a seamless look, but it's not necessary.
If speed is of the essence, you can try Speed Wrapping:
- Measure the wrap so that it's about 5 cm (2 inches) larger than the box around all sides.
- Place the box diagonally over the backside of the wrap, with the shorter side on the left.
- Fold the corner that's closest to you so it lines up with the left-hand side of the box, and secure it with tape.
- Fold the edge of the piece of wrap you've created down along the edge of the box and secure it with tape.
- Repeat this process on the other three sides.
These classic methods call for lots of tape, which means you might run out. And all those layers can be nerve-wracking, especially as the gift-giving deadline approaches. But you don't actually need tape to wrap gifts:
- Cut the wrap so that there's a 5 cm (2 inch) border all around the box.
- Fold the wrap into a diamond shape and place the box in the center.
- Fold the lower tip of the diamond up and tuck it under the box.
- Fold the sides along the top of the box inward and up, then secure them with tape. You can hold them in place with your hands if necessary.
- Fold the top end of the wrap down.
And there you have it – no tape needed! (You can see the finished product here).
Pro Tip: Just like with any artistic endeavor, it's all in the finishing touches. Now that you have a perfectly wrapped gift, add a ribbon for that extra bit of flair, and cap it off with a personalized tag. You can use a Label Maker to create your own tags, download some label templates for your printer, or even snatch up a few personalized gift bags to add that extra touch.
Different materials
No tape? No problem. You've got lots of options:
- Other papers. Newspaper, butcher paper, silk paper, brown paper gift bags (like the ones you find at the supermarket), cardboard – at the end of the day, the quality of gift wrap is just paper. If you have leftover wallpaper, furniture-repair cloth or even fabric scraps, they can all double as gift wrap. The lack of design offers the opportunity to add your own touches with personalized doodles and artwork.
- Containers. If your gift doesn't come in a box, you don't need to buy one to wrap it. Old (cleaned) jars, aluminum cans, tins (like paint cans, once they're clean), or even an empty Windex bottle can serve as containers for your gifts.
- Fabric. Cloth is a great way to add a high-end, personal touch to your gift. You can use Japanese Furoshiki elegantly, or you can make your own gift bag using an old sweater, converting an old t-shirt into a gift bag, or even repurpose old fabric scraps.
Different shapes
The classic folding techniques work best when you've got a square or rectangular box to cover, but what about when you've got something unusual shaped? Don't fret – you've still got options:
- Visual illusion. If the item you're wrapping is unusually shaped, group it with others that create a confusing image (toilets are a popular theme!).
- Stated intention. You can also simply leave the gift unwrapped, especially if it's something that comes in pieces that can be put together later.
- Charming covers and pouches. One of the easiest ways to wrap an unusually shaped gift is to put it into a gift bag. TikTok is full of DIY gift bag tutorials using gift wrap (or any type of paper), so you can create your own gift bags with ease.
For gift bags without a clear shape, there are a few specialized options:
- Cylindrical items. There are two simple methods for wrapping cylindrical items. One is to create a series of slits at the top and bottom of the wrap, then wrap the gift, stuff in the labels to create smooth ends, and bind with tape. The other option is to create a pocket in the wrap by forming it into a tube, insert the gift, then secure with tape.
- Bottles.Bottles are essentially cylinders, so the same technique as above works. But, if you're looking to add a party vibe, create a pocket by folding the wrap into a tube, placing the bottle inside, and tying with a band.
- Flat and round. Large, flat items like tennis rackets or guitars can be challenging to wrap, but they're not impossible. By tracing the item's shape on the wrap, you can create perfect Terraced Hills, or you can simply create a sleeve using a long piece of fabric, folding it over the item and securing with tape.
Alternatives
If you've got substantial gifts like bikes, fitness equipment (or, if you live in a world where advertising is real, a brand-new car), it might not be worth the hassle to wrap them – just tie a ribbon around them and leave them until it's time to exchange gifts. If your gift exchange group is down with it, you can even leave them in the boxes until it's time to exchange.
If you've got to wrap something but just can't manage a crisp cut or perfect seam, don't worry – there are people out there who make a living wrapping gifts for you. Many stores offer gift wrapping (often for free, depending on the store), and if you Google around, you might find mobile gift wrapping services. You can also search sites like TaskRabbit or Thumbtack for gift wrapping services in your area.


)