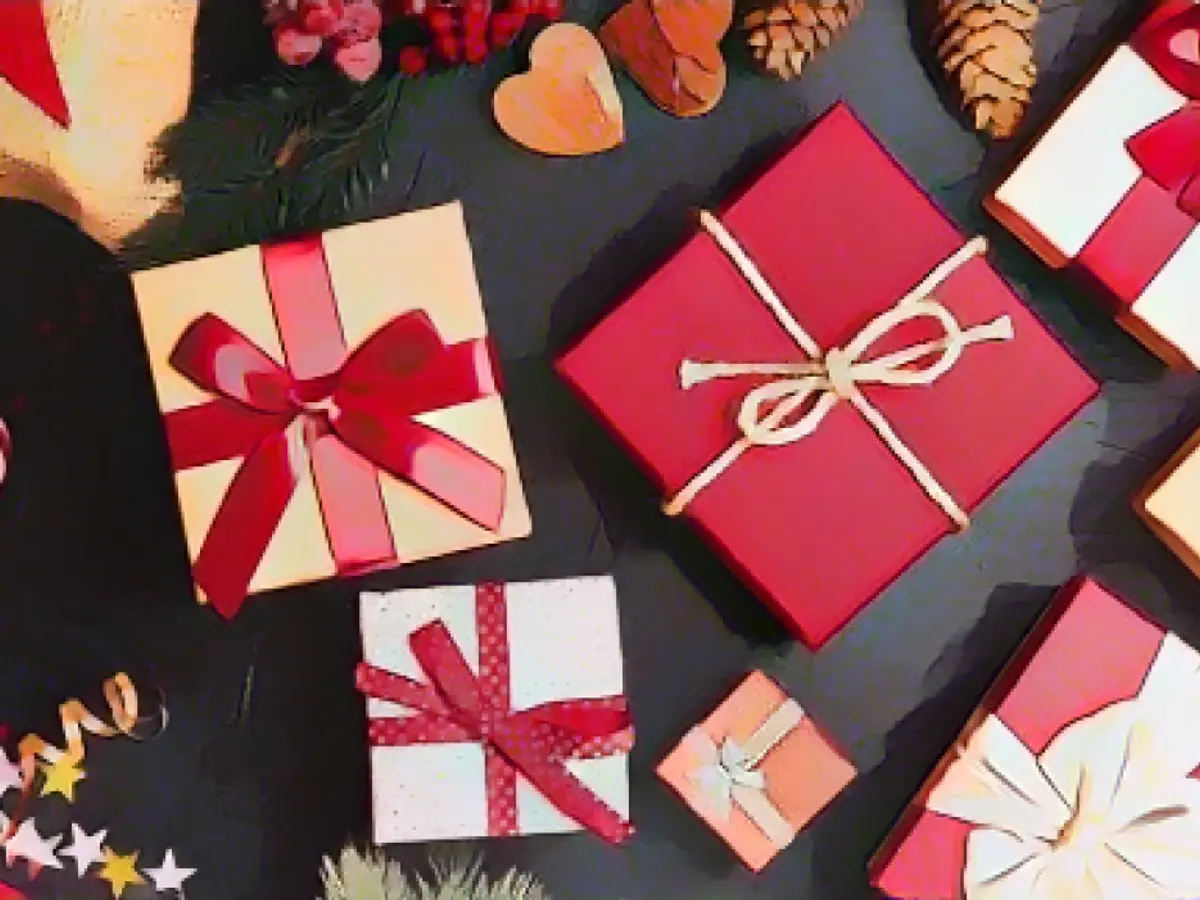
Christmas season's here and your to-do list is longer than Santa's: party planning, family visit scheduling, grocery shopping, home decor, and a whole lot more. While most tasks seem manageable, one task often leaves even the sharpest minds baffled - gift wrapping.
Worried about running out of tape or proper gift boxes? Don't be! Gift wrapping, even when the gift isn't particularly gift-boxed or bagged, is simpler than you think. Here's how to do it:
Classic way
Stick to basics. If your wrapping method involves haphazard stick-and-stick use of tape and random-patterned wrapping paper, even holiday science experts call it a "messy disaster". But don't lose hope! Traditional gift wrapping of simple, rectangular-shaped gifts is quite straightforward. Here are some tips and ideas:
Common Method
- Place the gift, if possible, in a standard square or rectangular box. Pick the classical approach:
- Lay the box with the front side down on the backside of the wrapping paper, ensuring enough paper on both sides to cover around three-quarter of the box's height.
- Fold the excess paper over the box, creating a crease that covers the backside of the box and touches the wrapping paper's backside.
- Cut the paper and add a 7.6 cm (3 inch) border around the box's edges. Ensure equal sides on all edges.
- Turn the box around to show the correct side.
- Fold approximately 5 cm (2 inches) paper along the shorter side of the box's top side and glue it using tape.
- Pull the other side over the top side and glue it using tape. For a stylish touch, instead of sticking at box's center, fold and use double-sided tape to create clean edges.
- Fold the edges at both ends from the top and bottom and glue them to create a triangle. Repeat the process for the other end.
Voila! A beautifully wrapped gift! Although some folding might not be essential, it can make the package look tidier. Covering with double-sided tape gives a smooth finish, but it's optional.
If you want to wrap fast, try the 'Speed Wrapping' method:
- Measure the paper to fit around the box with an additional 5 cm (2 inches) border.
- Place the box diagonally across the backside of the paper.
- Fold the nearest edge's corner to match the left column of the box's edge and secure with tape.
- Fold the created seam along with the paper and secure the paper flap on the box edge's seam with tape.
- Repeat the process on the remaining three sides.
Classic methods require a lot of tape, which you might run out of. Plus, they're time-consuming and irritating, especially as the gift's delivery date approaches. But, lucky for you, you don't need tape to wrap gifts!
- Cut the paper so that you have a 5 cm (2 inches) border around the box.
- Turn the paper into a diamond shape and place the box in the center.
- Fold the diamond's bottom tip upwards and slide it under the box.
- Fold the sides along the box's top side and upwards.
- Secure the ends with hands (like a malfunctioning handshake) and fold the top side down.
- Slide the bottom tip under the folded edge.
Check it out here - the gift was wrapped without any tape!
Pro Tips:
As with any creative endeavor, finishing touches matter. With your now-perfectly packed gift, add a ribbon to highlight that you're better than everyone else. And use a 'Label Maker' for custom labels, create templates for your printer, or simply buy beautiful gift tags.
Different Materials
No tape and no gift box? No problem! Try various options:
- Different Types of Paper: Newspaper, paper bags, wrapping paper with no design, even wallpaper remnants can result in unique, customizable gift wrapping. Mixing plain paper with your crafty doodles or art could result in one-of-a-kind packages.
- Containers: If the gift doesn't come in a box, you don't need to buy a box to put it in. Reused glitter jars, empty metal cans, or repurposed paint cans serve as amazing alternatives to gift boxes. And if you need a smaller box, just flip the cereal box.
- Fabric: When traditional wrapping paper seems boring, elevate the gift's appearance by wrapping it in fabric. Japanese Furoshiki is a stylish and practical option, or you can repurpose an old t-shirt, create a DIY fabric gift bag, or even use old handkerchiefs or pillowcases.
Unusual Shapes
Although the classical wrapping method works great for rectangular or square gifts, challenges arise when trying to package irregularly shaped gifts. Here are some alternatives:
- Illusion: If you have oddly shaped gifts, combine them to create something that doesn't make sense. For example, shampoo bottles are a popular shape for wrapping!
- Literal Meaning: Sometimes, just leaving the gift as it is is the best solution, even if you expose the gift's contents. This method works well when the present itself consists of multiple parts that can be packaged separately and later assembled.
- Book Covers and Totes: To pack irregularly shaped gifts, placing them in a gift bag or tying them with a ribbon is a straightforward option. On TikTok, you can learn how to create your DIY gift bag from wrapping paper.
- Pro Tips: Use fabric scraps under the wrapping paper for extra stability for your DIY gift bag or tote.
Wrapping Gifts Without Boxes
For boxless, enormous presents like bikes, exercise equipment, or even that car you've been wanting, you may as well forget wrapping. Just tie a string or ribbon around it instead, or if your gift group wants, leave it unwrapped until it's time to exchange gifts.
If you need to wrap small gifts, homework-style simple methods work best. If you lack the knack for clear measurements, clean folds, and smooth edges, there's a way to gift without causing damage (you're not alone).
You can skip tape and paper entirely:
- Cut the paper so you have a 5 cm (2 inches) border around the present.
- Fold the paper into a diamond shape and place the present in the center.
- Fold the bottom tip upwards and slide it under the present.
- Fold the sides along the present's top side and upwards.
- Secure the ends with hands (like a malfunctioning handshake) and fold the top side down.
- Slide the bottom tip under the folded edge.
No tape used! Check it out here.
Read also:
If you're looking for ways to find gift wrapping tips, type "how to wrap gifts" in your search engine. Or, you can get inspired by the Aussiedlerbote sample and try creative, eco-friendly wrapping options in your own home.
Enrichment Data:
Wrapping gifts without tape or paper can be creative and eco-friendly. Here are a few methods:
- Using fabric:
- You can use scarves, cloth napkins, or even old t-shirts to wrap gifts. Simply place the gift in the center of the fabric, fold the fabric over the gift, and tie it with a ribbon or a piece of twine.
- Using newspaper or magazine pages:
- This method is simple and eco-friendly. Place the gift in the center of a large sheet of newspaper or magazine pages, fold the sheets over the gift, and tie it with a ribbon or twine.
- Using Furoshiki technique:
- Furoshiki is a Japanese technique that involves wrapping gifts in a square piece of cloth. This method is both stylish and practical. You can use a scarf, a square piece of fabric, or even a bandana to wrap your gift.
- Creating collage-style wrapping:
- There are various creative techniques you can use to wrap gifts without tape or paper. For example, you can use a large piece of cardboard to create a makeshift wrapping sheet, or you can use multiple layers of colored magazine/newspaper pages to create a unique and layered look.
These methods not only save you from using traditional wrapping paper but also add a personal touch to your gifts. Source:


)